When it comes to crafting a stellar pizza in a cast iron skillet, the dough is the foundation of flavor and texture. Proofing—the process of letting the dough rise—is a critical step that can make or break your pizza. Here’s a deep dive into proofing dough specifically for cast iron pizza, balancing technique with the unique properties of this cooking method.
Why Proofing Matters for Cast Iron Pizza
Cast iron delivers intense, even heat, creating a crispy, golden crust with a slightly chewy interior. However, the heavy, conductive nature of cast iron means the dough needs to be prepped just right to avoid a dense or uneven bake. Proper proofing ensures the dough develops airiness, structure, and flavor, allowing it to stand up to the skillet’s high heat while achieving that coveted crust.
Proofing allows yeast to ferment, producing carbon dioxide that gives the dough its rise and lightness. For cast iron, where the dough cooks in a confined, hot environment, a well-proofed dough ensures a balance of crisp exterior and soft, airy interior.
Proofing Steps for Cast Iron Pizza Dough
1. First Proof: Building Structure and Flavor
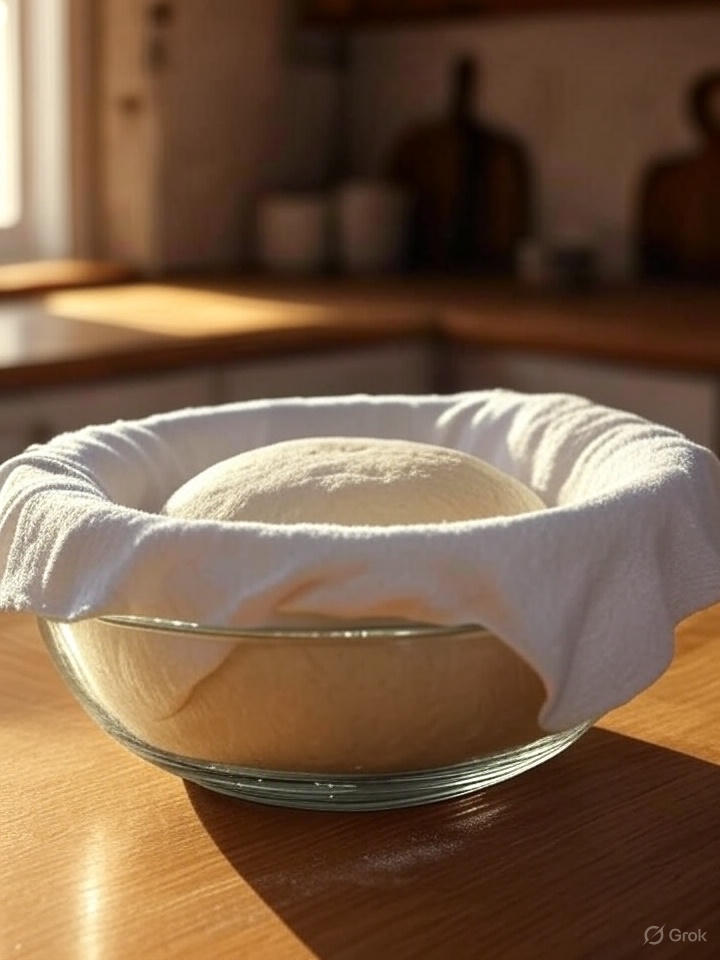
After kneading, place the dough in a lightly oiled bowl, cover it with a damp cloth or plastic wrap, and let it rise in a warm spot (75–85°F) for 1–2 hours, or until it doubles in size. This initial proof builds the dough’s structure and allows fermentation to develop subtle flavors.
Tip for Cast Iron: Don’t rush this step. A longer, slower rise (even up to 8–12 hours in the fridge) enhances flavor complexity, which pairs beautifully with the caramelized crust you’ll get from cast iron.
2. Shaping for the Skillet
Once doubled, gently punch down the dough to release excess gas. Divide it into portions (one 12-inch cast iron skillet typically takes a ball of dough about 300–350g). Shape into a smooth ball and let it rest for 10–15 minutes to relax the gluten, making it easier to press into the skillet.
3. Second Proof: Prepping for the Pan
Lightly oil your cast iron skillet to prevent sticking and add a touch of richness to the crust. Gently press the dough ball into the skillet, spreading it evenly to the edges. Cover loosely with a cloth or plastic wrap and let it proof again for 20–30 minutes. This second proof ensures the dough puffs up slightly, creating a light, airy texture that won’t collapse under toppings.
Why It’s Key for Cast Iron: The skillet’s heat can cause the dough to set quickly, so this second proof gives it the airiness needed to avoid a dense crust. If the dough feels too tight or springs back, let it rest longer before shaping.
4. Cold Proofing (Optional but Recommended)
For even better flavor, consider a cold proof. After the first rise, shape the dough into balls, wrap tightly, and refrigerate for 24–48 hours. When ready to bake, let the dough come to room temperature (about 1 hour), then press it into the skillet and proceed with the second proof. Cold proofing deepens the dough’s flavor, giving your pizza a sourdough-like tang that complements the robust crust from cast iron.
Tips for Proofing Success
- Temperature Control: If your kitchen is cold, place the dough in an oven with the light on or near a warm appliance to maintain 75–85°F during proofing.
- Don’t Overproof: Overproofed dough can collapse, leading to a dense crust. Watch for doubling in size, and press gently—if the dough springs back slowly, it’s ready.
- Hydration Matters: Cast iron works well with doughs at 60–70% hydration (water weight relative to flour). Too wet, and the dough may stick; too dry, and it won’t rise well.
- Skillet Prep: Preheat your cast iron in the oven at 450–500°F for at least 45 minutes after the second proof. This ensures a crispy base without burning the toppings.
Why Cast Iron Loves Well-Proofed Dough
The magic of cast iron lies in its ability to retain and distribute heat, searing the dough for a crust that’s crispy outside and tender inside. A properly proofed dough maximizes this effect by creating a network of air pockets that expand in the heat, giving you that perfect balance of crunch and chew. Underproofed dough will be dense and tough; overproofed dough may deflate, leaving a flat crust.
Final Thoughts
Proofing dough for cast iron pizza is all about patience and precision. Take the time to let your dough rise properly, and you’ll be rewarded with a crust that’s crispy, flavorful, and perfectly suited to the skillet. Whether you opt for a quick same-day proof or a slow cold ferment, the key is to let the dough develop enough structure to shine in the intense heat of cast iron. Grab your skillet, fire up the oven, and enjoy a pizza that’s as rustic as it is delicious!

